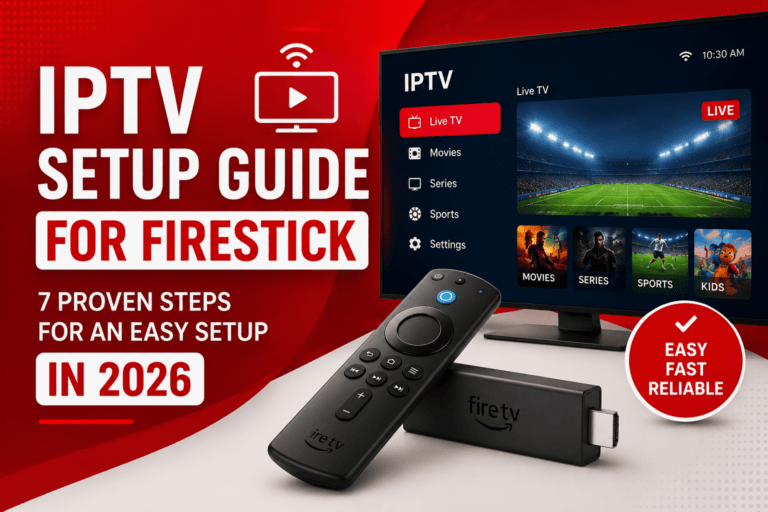
If you’re looking for a reliable IPTV setup guide built specifically for the Fire TV Stick, you’re in the right place. IPTV (Internet Protocol Television) lets you stream live channels and on-demand content over the internet instead of relying on traditional cable or satellite. This guide is exclusively focused on Firestick, walking through every setting, app, and configuration step so Firestick owners can get watching without the guesswork.
Why You Need a Proper IPTV Setup Guide for Firestick
A good IPTV setup guide saves Firestick owners from the most common headaches: buffering, login errors, and misconfigured apps. Getting the setup right the first time also protects your device from unnecessary troubleshooting later on. Below are the core benefits of following a structured process on Firestick specifically:
- Fewer errors: correctly entering server details and credentials the first time
- Better performance: configuring your Firestick’s network and app settings for smooth streaming
- Time savings: a clear setup guide gets your Firestick watching in minutes, not hours
- Fewer support tickets: most Firestick connection issues trace back to setup mistakes
What You’ll Need Before Starting
Before diving into this IPTV setup guide, gather these Firestick essentials:
- A Fire TV Stick device: Fire TV Stick Lite, Fire TV Stick, Fire TV Stick 4K, Fire TV Stick 4K Max, or Fire TV Cube
- A stable internet connection: at least 10–15 Mbps for HD, more for 4K
- A licensed, legal IPTV subscription with your login credentials or playlist URL
- A media player app compatible with your subscription (e.g., Ibo Player, Hot Player, IPTV Smarters Pro, TiviMate) and your Firestick remote
Firestick Setup Guide: Step-by-Step
This firestick setup guide covers the entire process from start to finish, using only Firestick’s native settings and menus.
Step 1: Prepare Your Firestick
Go to Settings > My Fire TV > Developer Options. If Developer Options isn’t visible, go to About and click your device name repeatedly until it confirms you’re a developer. Then enable Apps from Unknown Sources so you can install approved third-party player apps.
Step 2: Install a Downloader App
Search for and install the “Downloader” app from the Firestick home screen. This lets you download IPTV player apps directly onto your device using a URL provided by your legitimate service.
Step 3: Install Your IPTV Player App
Popular, legitimate player apps include Ibo Player, Hot Player, IPTV Smarters Pro and TiviMate, all available through official app stores or your provider’s approved download link. Avoid sideloading apps from unknown or unverified sources, since these can carry security risks.
Step 4: Enter Your Subscription Details
Open your player app and choose your login method:
| Method | What You’ll Enter | Best For |
|---|---|---|
| Xtream Codes API | Username, password, server URL | Most modern IPTV players |
| M3U Playlist URL | A single playlist link | Simpler, lightweight setups |
Double-check every character in your server URL and credentials — a single typo is the most common reason channels fail to load.
Step 5: Load and Organize Channels
Once connected, your channel list and electronic program guide (EPG) should populate automatically. Mark your favorite channels for quick access and use the search function to find specific programs.
IPTV Canada: What Viewers Should Know
For anyone searching for IPTV Canada, it’s worth understanding the local landscape before subscribing to any service. Canada has licensed streaming and IPTV-style options through providers like Telus Optik, Fubo, and various cable companies’ own apps. Unauthorized or “unofficial” IPTV subscriptions that resell copyrighted broadcast content without licensing are illegal in Canada and carry real risk, including exposure to malware, unreliable service, and potential legal consequences for users. When comparing IPTV Canada options, always verify a provider is properly licensed to distribute the channels it offers.
Setup Guide: Common Mistakes to Avoid
Even with a solid IPTV setup guide, a few mistakes trip up most new users:
- Skipping the internet speed check: leads to constant buffering
- Mistyping server URLs: the #1 cause of “channels not loading” errors
- Using unlicensed providers: risks legal issues and poor reliability
- Not clearing app cache: can cause crashes over time
- Ignoring firmware updates: outdated devices can break app compatibility
Troubleshooting Quick Reference
| Problem | Likely Cause | Fix |
|---|---|---|
| Buffering | Slow internet | Restart router, check speed, move closer to Wi-Fi |
| Channels won’t load | Typo in login/URL | Re-enter credentials carefully |
| App crashes | Corrupted cache | Clear cache/data in device settings |
| No EPG data | Provider sync delay | Wait or contact your provider’s support |
Conclusion: Get Streaming on Firestick the Right Way
Following a proper IPTV setup guide turns a potentially frustrating process into a quick, five-step Firestick routine: prepare your device, install a trusted player app, enter your credentials carefully, organize your channels, and troubleshoot proactively. Whether you’re completing this firestick setup guide for the first time or comparing IPTV Canada options, choosing a licensed provider and following this setup guide closely will save you time and hassle.
Ready to start streaming on your Firestick? Choose a licensed IPTV provider, follow the steps above, and you’ll be watching your favorite channels on your Fire TV Stick in minutes: the smart, safe way.